Tuesday, October 19, 2010

Southwest Spaghetti Pie

I have a document saved on my computer of all the recipes I want to try. It's going on 3 pages long and I keep adding to it whenever I check my favorite blogs! I found this recipe on The Teacher Cooks and what caught my eye about it was the fact that it can be prepped ahead of time as well as the fact that it makes a ton! With my schedule this semester, it feels like I'm rushed to get dinner on the table most nights. It's nice to have everything prepared the night or day before and be able to toss it all together, cook, and serve! I also love leftovers because it saves us money on lunch the next day. Be prepared, this recipe makes a lot!

8 ounces thin spaghetti
1/3 cup of milk
1 egg
1 lb ground beef (or ground turkey)
1 medium onion, chopped
1 medium bell pepper, chopped
1 clove garlic, minced
1 tsp chili powder
1/2 tsp cumin
1/2 tsp oregano
1/2 tsp salt
1/4 tsp black pepper
2 cups tomato sauce
1 cup shredded Monterey Jack Cheese with jalapeno
1 cup shredded cheddar cheese

Heat oven to 425º. Put water on to boil and cook pasta according to directions. Drain. Brown meat with onion, pepper, and garlic. Drain if necessary. Add seasonings and stir in tomato sauce. Simmer for about 5 minutes while the pasta is cooking.

Butter a 9 x 13 pyrex dish. Mix well egg and milk in a small bowl. Temper the eggs and milk with some of the warm pasta until the milk and eggs are warm (Do this to avoid scrambling the eggs in hot pasta). In large bowl, pour cooked pasta and mix with milk and eggs. Pour the pasta mixture into buttered pyrex dish. Top with the sauce and add shredded cheeses. Bake at 425º for 10 minutes until cheese is bubbly. Let standd for 5 minutes before serving.

Enjoy!

Sunday, October 17, 2010

Cheesy Sausage Penne

I made this recipe awhile back before I started blogging. It was delicious but it somehow got lost in my binder of recipes. I found it again while browsing this blog and remembered how delicious it was. While I'm not usually a fan of cream cheese in cooked meals, this tastes delicious as long as it is mixed in!

Enjoy!

1 lb bulk Italian sausage
1 garlic clove, minced
1 jar (26 ounces) spaghetti sauce
16 oz uncooked penne pasta
8 oz cream cheese, softened
1 cup sourcream
4 green onions, sliced
2 cups shredded cheddar cheese

In a large skillet, cook the sausage and garlic over medium heat until meat is no longer pink. Drain. Stir in spaghetti sauce and bring to a boil. Reduce heat, cover, and simmer for 10 minutes.

Meanwhile, cook pasta according to package directions. Drain. In a small mixing bowl, combine the cream cheese, sour cream, and onions.

In a greased shallow 3-qt baking dish, layer half the pasta and sausage mixture. Dollop with half of the cream cheese mixture and then sprinkle with half the cheddar cheese. Repeat layers.

Baked, uncovered, at 350º for 30-35 minutes.

Saturday, October 16, 2010

Smores Cupcakes

This recipe begins with a story. The story of the poor little hand mixer who thought he could. He thought he could hang with the big bad KitchenAid Mixers and make frosting but alas, he couldn't. After whisking the frosting for 7 minutes on high, his little engine gave out and he couldn't :(

Yep, my $5 hand mixer that has lasted me through almost 10 months of cooking and baking finally gave out. I was worried it would happen but the thought of a marshmallow-like frosting on top of my graham cracker and chocolate cupcake overrode my worries. Even though my frosting wasn't fully whipped, it still tasted delicious on top of these smore's cupcakes!

This recipe is one of a 3 smore's cupcake recipes I have bookmarked to try. I found it on Joelen's blog and it seemed very straight-forward and easy. It was delicious and made me want to go camping again! But at least I can enjoy the deliciousness of smore's without the campfire smell in your hair!

I made these for a get together with the group I went canoeing/camping with last weekend. I thought a smore's cupcake was the perfect thing to bring to the potluck!

Oh, and with the demise of my hand mixer and the problems I encountered toasting the frosting with a lighter, I've decided i need to invest in two new kitchen tools: a KitchenAid stand mixer and a kitchen torch! Now I only have to convince the husband.... :)

Graham Cracker and Milk Chocolate Cupcakes
1/2 cup all-purpose flour
1 1/2 cups finely crushed graham crackers (about 20 crackers)
2 tsps baking powder
1/2 tsp salt
1/2 cup (1 stick) unsalted butter, room temperature
3/4 cup sugar
2 eggs
1 tsp vanilla extract
3/4 cup milk
1 cup milk chocolate chips, chopped

Swiss Meringue Marshmallow Frosting
1 1/4 cups granulated sugar
4 egg whites
2 tsps vanilla extract

Preheat oven to 350º.

Mix flour, crushed graham crackers, baking powder, and salt together and set aside.

Cream butter and sugar until light and fluffy. Add eggs, one at a time, mixing well after each addition. Add vanilla, Alternately add flour mixture and milk and beat until batter is almost smooth. Fold in chocolate chips.

Line cupcake pan with liners. Spoon batter into cupcake papers, filling cups about 2/3 full. Bake for 20-25 minutes or until a fork inserted comes our clean (mine were done about 17 minutes). Remove from oven and cool.

To make the frosting: Combine egg whites and sugar in the top of a double boiler (or a glass bowl over but not touching a pan of simmering water). Whisk constantly over medium-high heat until mixture reaches 160º, about 5 minutes. Pour egg white mixture into the bowl of a stand mixer (take note STAND MIXTURE :) )fitted with the whisk attachment. Beat on high for 6 minutes, or until room temperature. Add optional vanilla extract 1 tsp at a time until desired taste is reached.

Garnish with graham cracker squares, milk chocolate squares, or be adventurous and toast the frosting with a kitchen torch!


Weekly Meal List

Sunday: Crockpot BBQ Chicken
Monday: Shepherds Pie
Tuesday: Chicken Tortilla Casserole
Wednesday: Cheesy Sausage Penne
Thursday: Baked Ziti
Friday: Enchi-ritos
Saturday: Date Night :)

Tuesday, October 12, 2010

I'll be back soon!

Sorry for such a long wait for posts! I'm going through midterms in school right now as well as starting up my internship, so I've been super busy! But the real delay in posts is because of a trip required for my major. I spent four days this weekend canoeing over 20 miles up and down the Colorado River.

We started here
and ended up here
right beneath the Hoover Dam. It was an amazing, hard, and rewarding trip and it reminded me of how much I love my major.

We saw tons of big horned sheep, got a little dirty, and saw some amazing views!


Now for the cooking related part of the trip :) We experienced camping culinary creations
like Dutch Oven Pizzas, Cornbread and Chili, French Toast and Sausage, and Blueberry Pancakes! All of this was cooked on top of our canoe kitchen!

The food was some of the best camping fare I've experienced! I promise to post some actual recipes this week!

Wednesday, October 6, 2010

Baked Chicken and Cheese Enchiladas

I love the recipe I use for enchiladas. It's easy, delicious, and my hubby's favorite dish. I had a lot of chicken to use up this week though so I decided to try a new recipe. I found this one over at The Mess Pot. It was very easy to put together and while it doesn't top my beef version, it still makes for a delicious meal.

4 oz cream cheese, softened
1/4 cup sour cream
2 cups prepared salsa
2 cups grated Cheddar or Monterey Jack cheese
2 cups shredded cooked chicken
1 cup frozen corn kernels, thawed
1/2 tsp cumin
1/4 tsp dried oregano
1/4 tsp cayenne
Salt and Pepper
4 scallions, thinly sliced
12-14 soft round 6-8 inch corn tortillas

Preheat oven to 325º. In a medium bowl, cream together the cream cheese and the sour cream. Stir in the 1/2 cup of the salsa and 1 cup of grated cheese. In a second bowl, toss together teh chicken, corn cumin, cayenne, salt, pepper, and 1/2 the scallions. Add the chicken mixture to the cheese mixture and stir to combine.

In a baking dish, spread 1/2 cup of salsa over the bottom. Place about a1/4 cup of the mixture on the tortilla, roll up and transfer to the baking dish with the seam side down. Repeat with the remaining tortillas. Pour remaining salsa over the enchiladas, spreading to coat all of them. Sprinkle the remaining cheese over the top. Transfer to preheated oven and bake for 20-25 minutes until hot and bubbly. Sprinkle with remaining scallions and serve warm. Enjoy!


Saturday, October 2, 2010

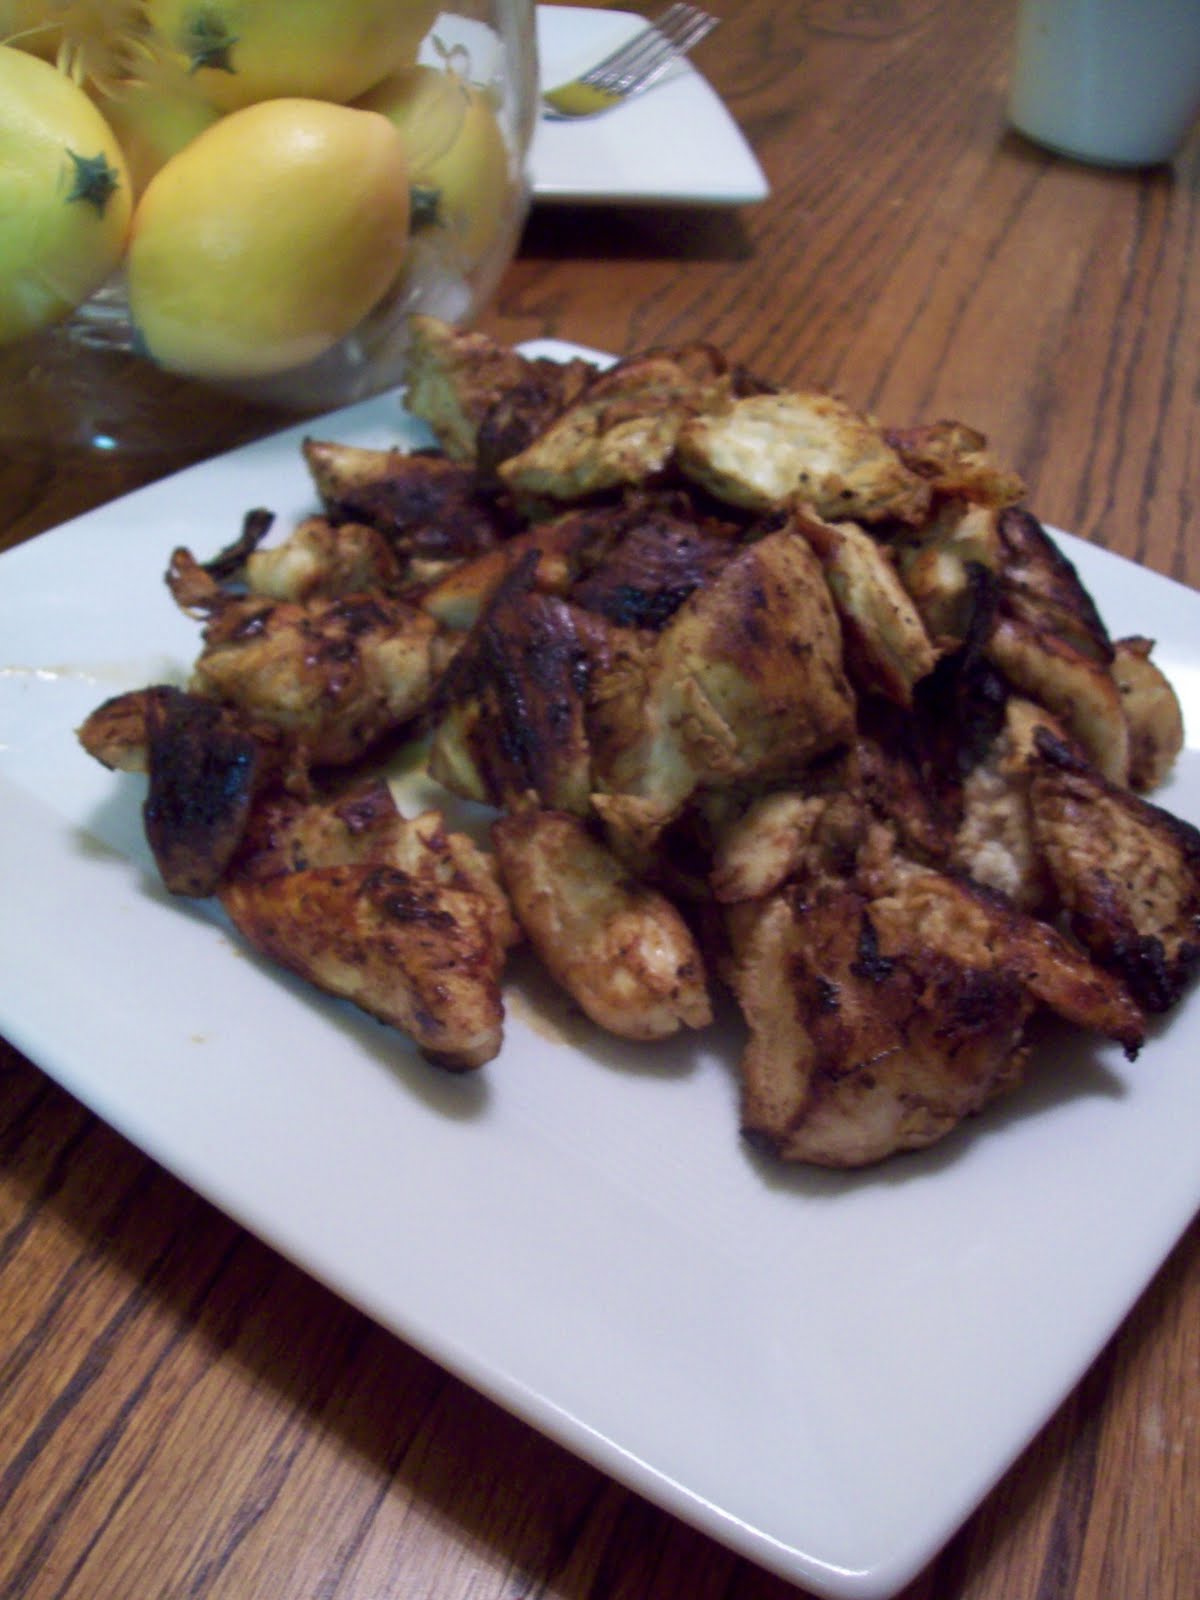
Lemon and Basil Chicken

After making the lemon and basil spaghetti a few weeks ago, I decided I loved the flavor combination! It tastes so fresh and since our weather hasn't quite started feeling like Fall yet, I decided to try out this recipe from For the Love of Cooking.

2 boneless, skinless chicken breasts
Juice and zest of one lemon
3 tbsp of fresh basil, chopped (divided)
2 cloves of garlic, minced
2 tbsp olive oil (divided)
salt
pepper

Place chicken breasts in a large zip lock bag. Pound the chicken breasts flat with a mallet until 1/2 inch thick. Add 1 tbsp of olive oil, lemon zest, lemon juice, 2.5 tbsp of fresh basil salt, pepper, and minced garlic. Mix thoroughly and marinate in the refrigerator for 1-2 hours.

Remove chicken from the refrigerator 10 minutes prior to cooking. Heat the 1 tbsp of olive oil in a large grill pan or skillet over medium heat. Once hot, add chicken breasts and cook for 4 minutes then flip. Cook for an additional 3-4 minutes or until juices run clear. Remove from heat and let the meat rest for 5 minutes. Garnish with the last half tbsp of fresh basil and extra lemon. Enjoy!